Task 1: Initialize the Project and Git Workflow
Introduction
This task establishes the foundation for the rest of the lab. You will create the repository structure, initialize Git, and perform the first set of core Git operations. The goal is to make Git the center of the workflow from the very beginning.
Goal
Create a local project skeleton for the GitOps lab and commit the initial repository structure to Git.
Task Dependencies
This is the starting point for the lab.
Diagram
flowchart TD
    A[Create local project] --> B[Initialize Git]
    B --> C[Create folders and starter files]
    C --> D[git status]
    D --> E[git add]
    E --> F[git commit]
Steps
Step 1: Start the CML Instance
Start the CML instance now so it can initialize while you complete the early Git setup steps. CML can take a few minutes to become ready, and starting it here helps avoid delays when you retrieve the CML details in Task 5.
In the WIL Assistant, click the Connect to Lab button.
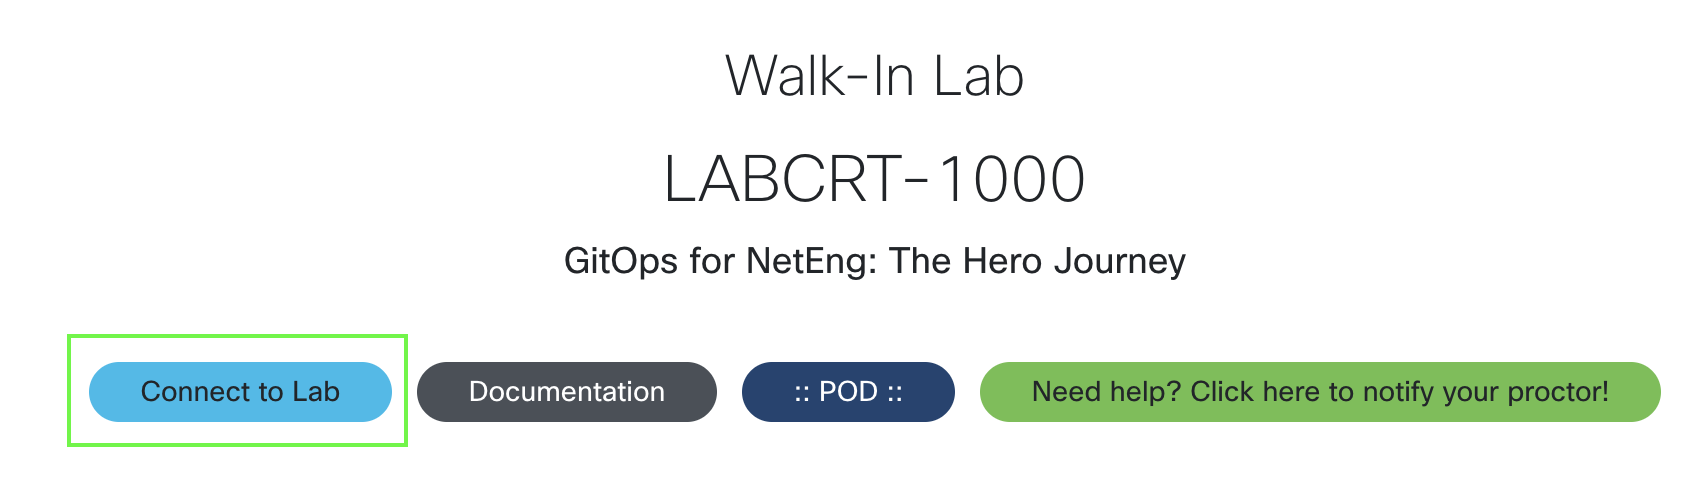
A new browser tab will open. Keep this tab open throughout the duration of the lab.
Start the Lab.

The lab will start to initialize. This will take a few moments but its not needed until Task 5.
Step 2: Open Visual Studio Code
Launch Visual Studio Code on your local machine.
Starting in Visual Studio Code gives you a single place to create files, review the project layout, and run terminal commands. That makes the lab easier to follow because the editor and the terminal stay side by side throughout the workflow.
Step 3: Open the integrated terminal
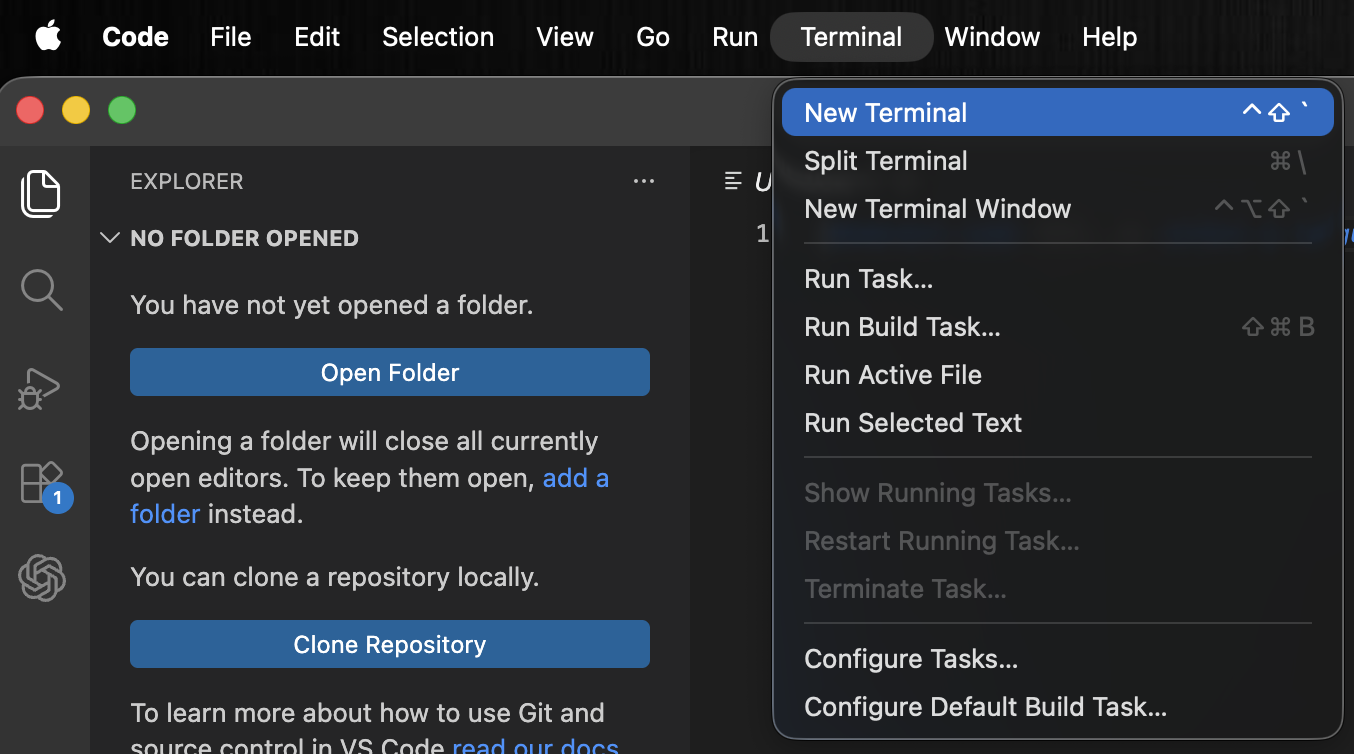
Open the terminal inside Visual Studio Code.
You can open it from the Terminal menu by choosing New Terminal. This opens a shell inside the editor so the commands in the lab can be entered without switching to a separate terminal application.
Step 4: Create the working directory
Create a dedicated folder for the lab:
mkdir Desktop/gitops-neteng-lab
This command creates a new directory named gitops-neteng-lab. Keeping the lab in its own folder makes it easier to understand the project layout, track every file that belongs to the exercise, and avoid mixing lab content with unrelated work.
Step 5: Open the new folder in Visual Studio Code
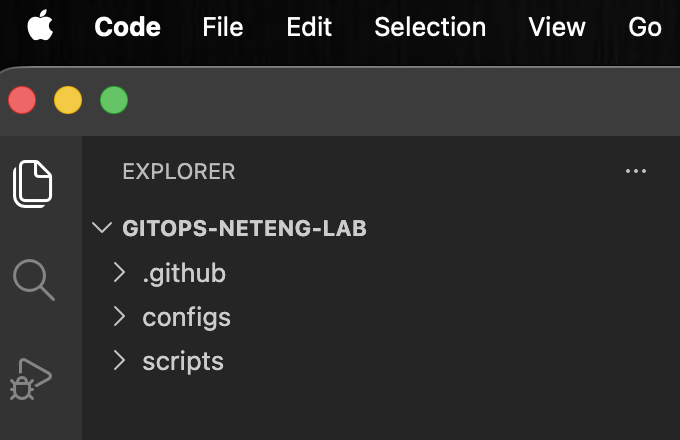
Open the gitops-neteng-lab folder in Visual Studio Code.
Opening the folder at this point lets the Explorer panel reflect the directory you just created. From here, the learner can see the repository grow as folders and files are added during the rest of the task.

Note
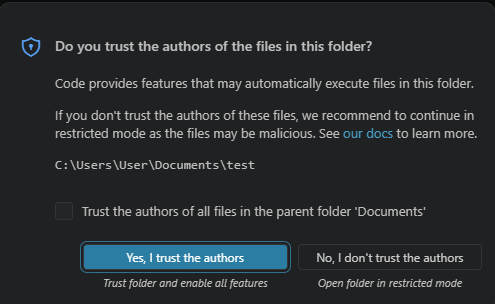
If VS Code opens a pop up menu that displays Do you trust the authors of the files in this folder?. Check the checkbox, then click Yes, I trust the authors button.
Step 6: Reopen the integrated terminal
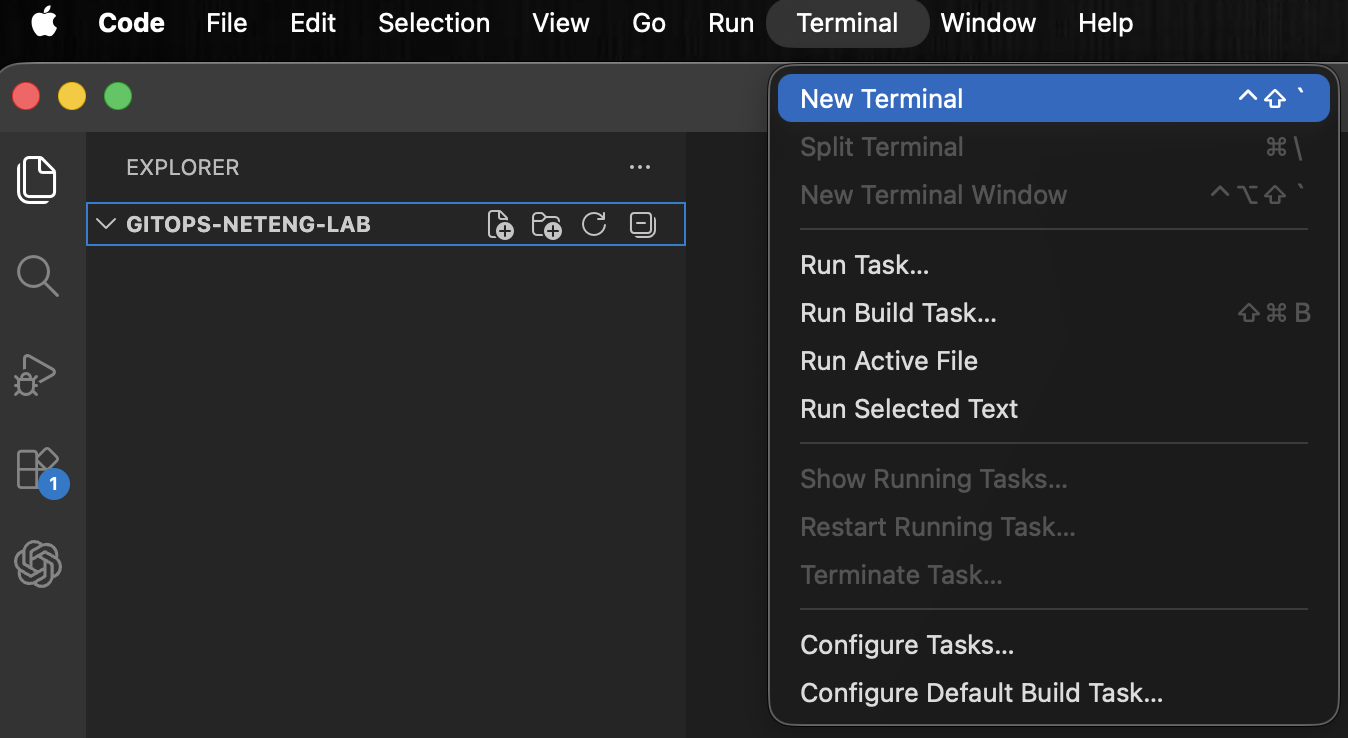
Open the terminal again inside the gitops-neteng-lab workspace.
You can use the Terminal menu and choose New Terminal if the previous terminal session is no longer visible. Reopening the terminal inside the correct folder keeps the next Git commands focused on the lab directory you just opened in Visual Studio Code.
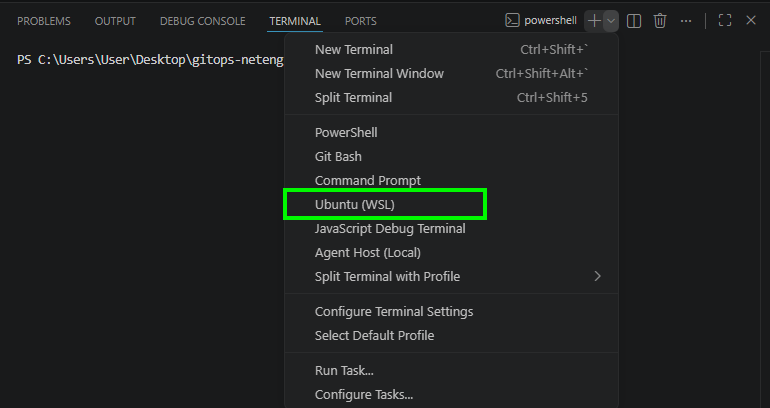
In the terminal window, click the +, then in the drop down select Ubuntu (WSL)

Step 7: Initialize the Git repository
Start Git tracking in the current directory:
git init
git init creates the hidden .git directory that stores the repository history and metadata. From this point on, Git can track changes, compare versions, and record commits for the lab.
Step 8: Create the main project directories
Create the folders used by the lab:
mkdir -p configs
mkdir -p scripts
mkdir -p .github/workflows
The -p flag tells mkdir to create parent directories as needed. This gives you a clean structure for router configurations, helper scripts, and the GitHub Actions workflow you will build later in the lab.
Step 9: Create the README file
Create an empty README.md file:
touch README.md
PowerShell:
wsl touchREADME.md
This gives the project a standard top-level documentation file. It is often the first file someone reads when they open a repository.
Step 10: Add content to the README file
Add the following content to README.md:
# GitOps for NetEng Lab

Local GitOps workflow for network configuration validation and CML deployment.
The README provides a quick description of the repository. It helps anyone opening the project understand the purpose of the lab immediately.
Step 11: Save the README file
Save README.md in Visual Studio Code.
Saving the file writes the content to disk so Git can detect it in the next step.
Step 12: Review the repository state
Check what Git sees:
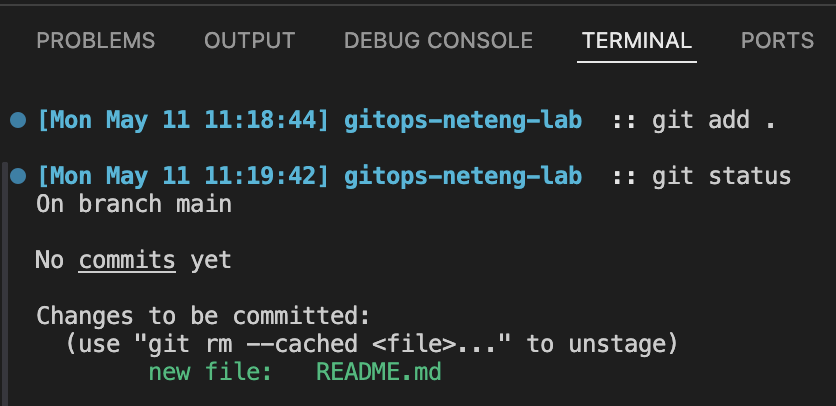
git status
git status shows which files are untracked, modified, or staged. Right now, it should show the files you created as untracked because Git sees them on disk but has not been told to include them in version control yet.

Step 13: Stage the repository content
Add the current files to the Git staging area:
git add .
git add . tells Git to stage all files in the current project tree. Staging is important because it lets you choose exactly what goes into the next commit.
Step 14: Confirm what is staged
Run git status again:
git status
This second status check helps you see the effect of staging. The same files that were previously untracked should now appear as changes ready to be committed.
Step 15: Create the first commit
Commit the initial project structure:
git commit -m "Initialize GitOps lab project structure"
A commit stores a snapshot of the staged files along with a message that describes the change. This gives the project a clear starting point that you can refer back to throughout the lab.

Note
If the result returns Author identity unknown. run the following commands, the retry the above git commit command again.
git config --global user.email "cl_user@example.com"
git config --global user.name "Cisco Live User"
Step 16: Navigate to GitHub
In a new browser tab, type https://github.com or simple click the hyperlink to open in a new tab.
For Existing GitHub Account Users
1. On the home page, click the Sign In button at the top right corner of the page.
2. When prompt, enter user Username and Password
3. Click the Sign In button.
4. Proceed to the next step
For New GitHub Account Users
1. On the homepage click the Sign Up button next to the Sign In button.
2. Fill in form details
3. If prompt, GitHub may send an email to the email address you specified for verification. Login to your email account and follow the instructions for verification.
Step 17: Create Repository
Create a repository within GitHub that will store and keep track of the changes for the files inserted in this location. The GitHub Repository is the main place where developers share, collaborate, track issues, and maintain code in an organized and efficient way.
Create Developer Token
- Once you are logged in, click on your profile in the top right corner of the webpage.
- From the drop down menu, click
Settings - In the left menu, scroll all the way to the bottom and select
<>Developer Settings - Click,
Personal Access Token, thenTokens (classic) - Click
Generate new Tokenbutton at the top right, thenGenerate new token (classic) - Give a name under Note, any name would do
- Under
Selected Scopes, checkrepo, andworkflows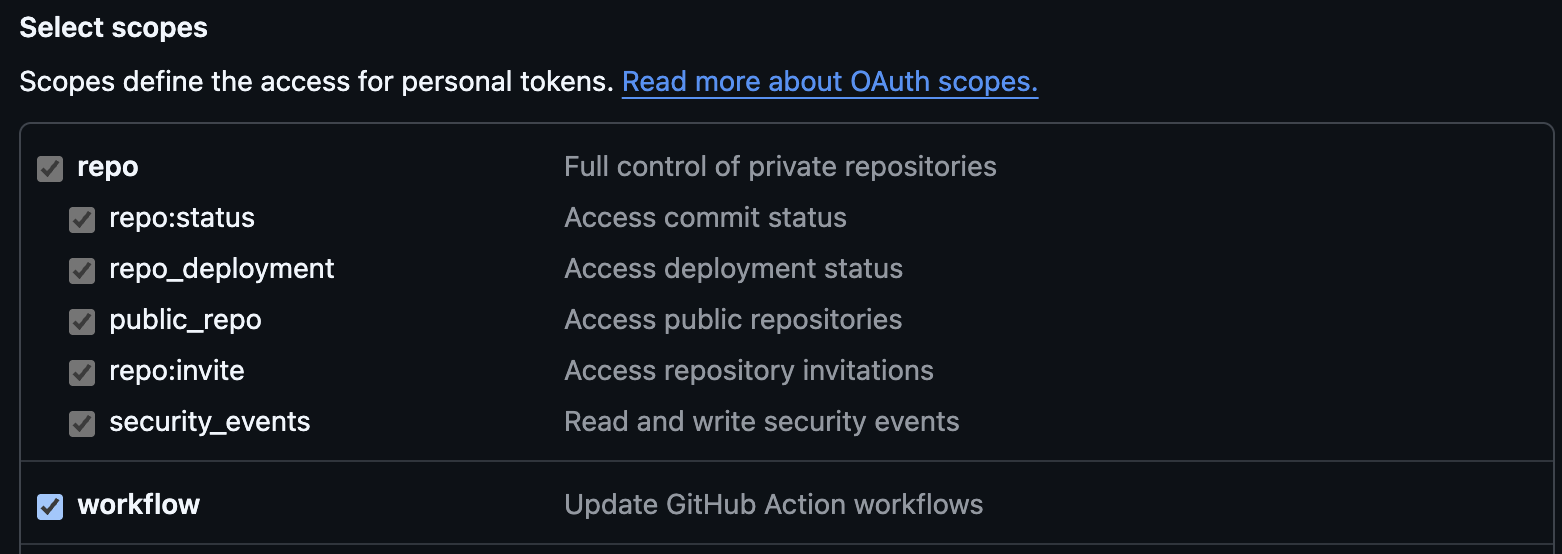
- Click the green
Generate Tokenbutton at the bottom of the page - Copy the token and save somewhere. You will need this token to sync files as it is your
Password.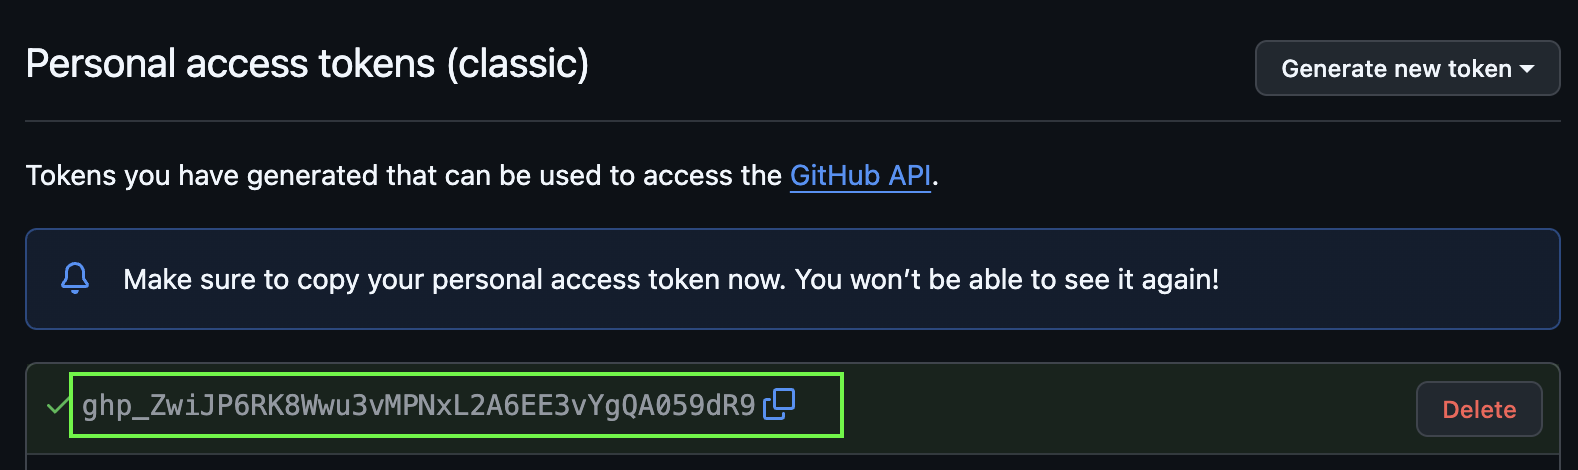
Create New Repository
- Click on your profile in the top right corner of the webpage.
- From the drop down menu, click
Your Repositories - On the repositories page, click the green button that's labeled
New - Fill in required repository details,
- Repository Name: Enter a name for the repository (e.g gitops-neteng-lab). The name should be unique and contains no spaces
- Visibility: indicates who can view the repository. Leave the
Publicradio button selected.- Public: indicates anyone will have visibility to the information within the repository. Only you and collaborators you invites can make changes to the code within the repository
- Private: will only be visible to you and the collaborators you invite. Only you and the collaborators you invite can make changes to the code within the repository
- Add README Leave the
Add READMEcheckbox unchecked or off since you created one in the local repository. - Add Git Ignore: When creating folder location and files the file system may create hidden files and directories that are unwanted. The
.gitignorefile will instructgitto not add these files to our GitHub Repository. For now, leave this unchecked or"No .gitignore"since you created the local repository first.
- Click
Create Repositoryonce you have entered all the required information
After GitHub creates the repository, look for the repository URL shown on the repository page. The HTTPS URL is the value you will use in the next step when connecting your local Git repository to GitHub.
Step 18: Add the GitHub remote repository
Return to Visual Studio Code and reopen the integrated terminal in the gitops-neteng-lab folder if needed.
This brings you back to the local repository you created earlier in the task. The next command should be entered in that terminal because it updates the Git settings for your local project.
Connect the lab to GitHub by adding a remote named origin:
git remote add origin https://github.com/YOUR_USERNAME/gitops-neteng-lab.git
A remote is a named reference to a repository hosted somewhere else. Replace the example URL with the HTTPS repository URL GitHub displayed after you created the repository. Adding origin connects the local lab to GitHub so the hosted deployment workflow can run later in the lab.
Step 19: Set the branch name to main
Rename the current branch:
git branch -M main
This renames the active branch to main, which is a common default branch name in modern Git workflows.
Step 20: Push the branch to the remote
Send your local repository history to GitHub:
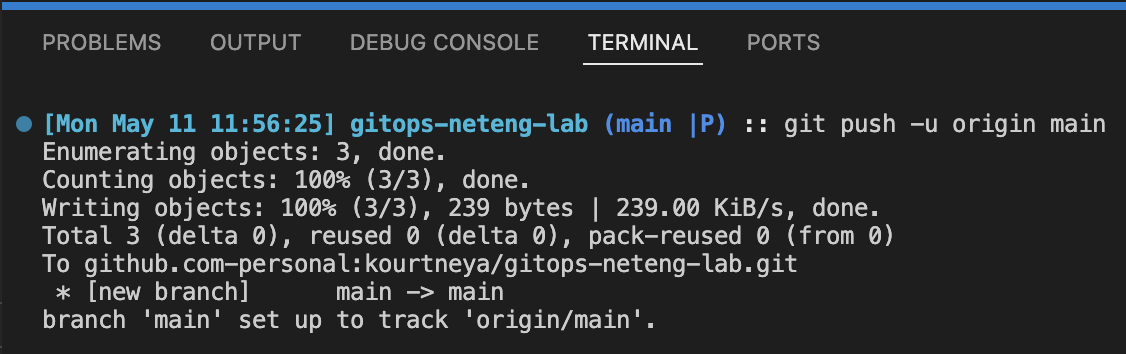
git push -u origin main
You will be prompted to enter your username and following that will be to enter your password. THE PASSWORD WILL BE THE TOKEN YOU CREATED
This command uploads the main branch to the GitHub repository and sets origin/main as the default upstream branch for future pushes and pulls. After the command completes, the files you created in Visual Studio Code should also appear in GitHub, which confirms that the local and remote repositories are now connected.
Note
If you receive the message Are you sure you want to continue connecting (yes/no/\[fingerprint\])?, type yes then press Enter
On the first commit, you may be prompt to configure your username and email using git config. This is extremely important for identifying who made changes to files within the repository. Git repositories are designed for collaboration where multiple users can work out of the same repository. Due to this type of collaboration knowing who made the commit is critical. The following commands configures your identity in Git.
git config user.name "YOUR NAME"
git config user.email "YOUR EMAIL"
Step 21: Confirm Pushed Content in GitHub
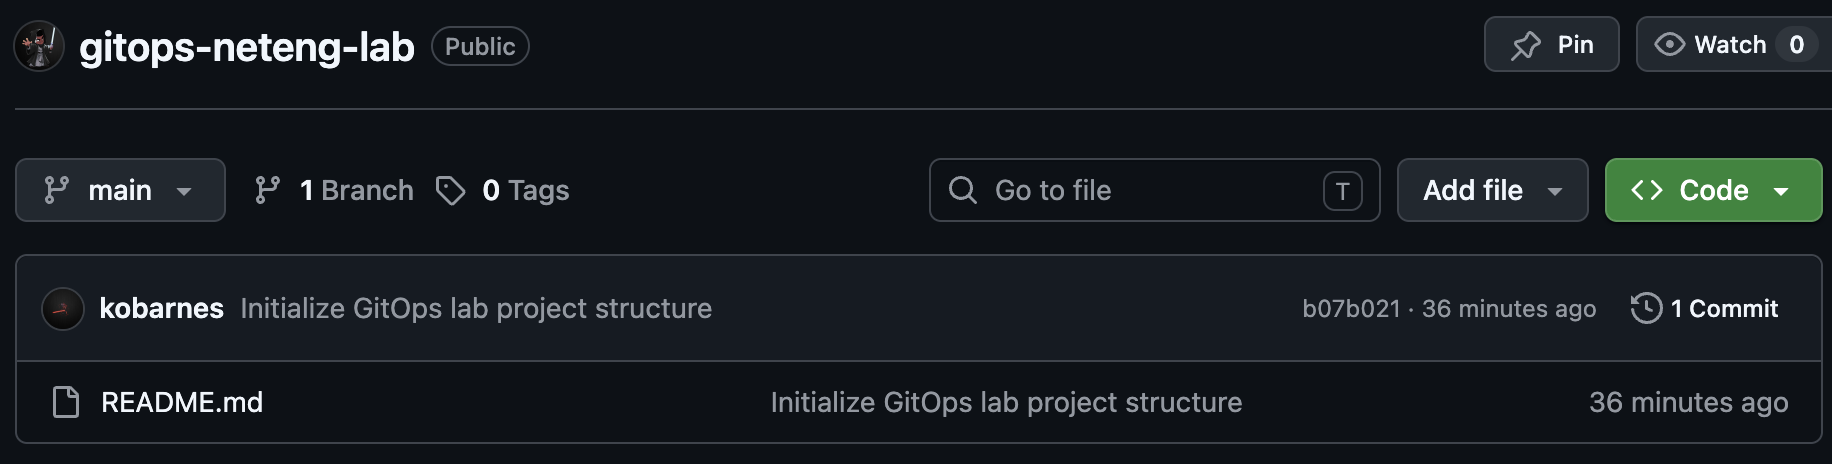
Return to the GitHub repository in your browser and confirm that the README.md file is now visible.
Seeing the file in GitHub confirms that the push was successful and that the local repository in Visual Studio Code is now connected to the remote repository in GitHub. If the file does not appear right away, refresh the page. The directories you created earlier may still not be visible because Git does not track empty directories, so only files that contain content are pushed to the remote repository.
Why This Matters
GitOps starts with a disciplined repository. Before there is automation, validation, or deployment, there must be a trusted source of truth. This task creates that trust anchor and helps learners see how Git begins tracking a project from the first file.
Final Summary
In this task, you created the project layout, initialized Git, staged the initial files, and committed the starting point. You now have the repository base required for Task 2, where the router configuration files are introduced one at a time.