Task 3: Build the Local Validation and Packaging Pipeline
Introduction
Now that the repository contains meaningful configuration data, it is time to automate the first two GitOps pipeline stages: validation and packaging. In this task, you will create local scripts that can be run repeatedly before deployment.
Goal
Create local scripts that validate router configuration files and package them into a distributable artifact.
Task Dependencies
Complete Task 2 before starting this task.
Diagram
flowchart TD
    A[configs/*.cfg] --> B[validate_configs.sh]
    B --> C[package_artifacts.sh]
    C --> D[artifacts/configs.tar.gz]
Steps
Step 1: Create the validation script file
Create the validation script:
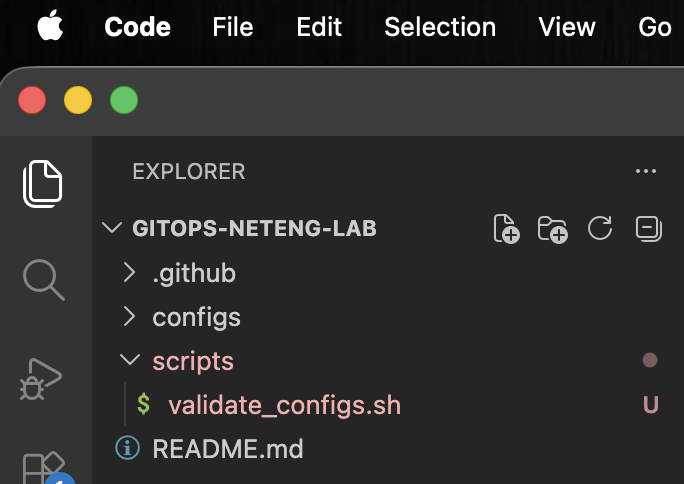
touch scripts/validate_configs.sh
PowerShell:
wsl touchscripts/validate_configs.sh
This creates the file that will hold the validation logic for the router configurations.
Step 2: Add the validation script content
Add the following content to scripts/validate_configs.sh:
#!/usr/bin/env bash
set -euo pipefail

CONFIG_DIR="configs"

if [ ! -d "$CONFIG_DIR" ]; then
  echo "Config directory not found: $CONFIG_DIR" >&2
  exit 1
fi

for file in "$CONFIG_DIR"/*.cfg; do
  echo "Validating $file"
  grep -q '^hostname ' "$file" || {
    echo "Missing hostname in $file" >&2
    exit 1
  }
  grep -q '^interface Loopback0' "$file" || {
    echo "Missing Loopback0 in $file" >&2
    exit 1
  }
  grep -q '^router bgp ' "$file" || {
    echo "Missing BGP configuration in $file" >&2
    exit 1
  }
done

echo "All configuration files passed validation."
This script checks each configuration file for a hostname, a loopback interface, and a BGP process. These checks are simple on purpose so learners can clearly see how validation logic is built and how it protects the deployment workflow from obvious mistakes.
Step 3: Save the validation script file
Save scripts/validate_configs.sh in Visual Studio Code.
This makes the validation logic available for the executable-permission step and later test run.
Step 4: Create the packaging script file
Create the packaging script:
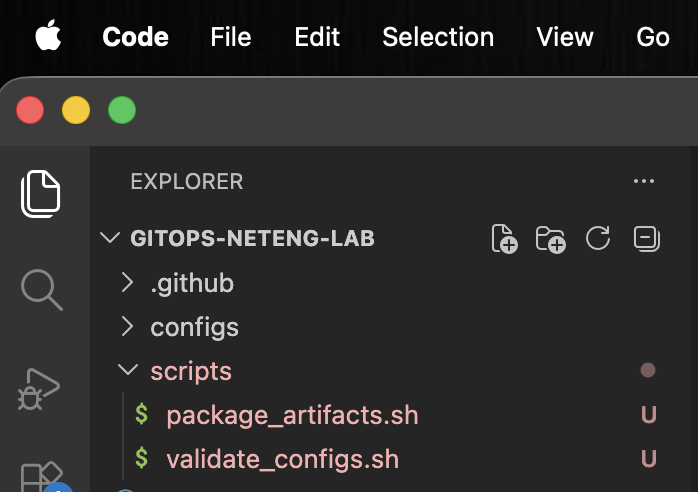
touch scripts/package_artifacts.sh
PowerShell:
wsl touchscripts/package_artifacts.sh
This creates the file that will hold the packaging logic for the lab artifact.
Step 5: Add the packaging script content
Add the following content to scripts/package_artifacts.sh:
#!/usr/bin/env bash
set -euo pipefail

ARTIFACT_DIR="artifacts"
ARTIFACT_NAME="configs.tar.gz"

mkdir -p "$ARTIFACT_DIR"
rm -f "$ARTIFACT_DIR/$ARTIFACT_NAME"

tar -czf "$ARTIFACT_DIR/$ARTIFACT_NAME" configs topology.yaml

echo "Created artifact: $ARTIFACT_DIR/$ARTIFACT_NAME"
This script collects the configuration files and topology definition into a compressed archive. Packaging the files into a single artifact makes it easier to pass the intended state between validation, review, and deployment stages.
Step 6: Save the packaging script file
Save scripts/package_artifacts.sh in Visual Studio Code.
The file needs to be saved before you make it executable and run it.
Step 7: Make the validation script executable
Allow the shell to run the validation script directly:
chmod +x scripts/validate_configs.sh
chmod +x adds execute permission to the file. Without it, you would need to call the script through a shell interpreter instead of running it directly.
Step 8: Make the packaging script executable
Allow the shell to run the packaging script directly:
chmod +x scripts/package_artifacts.sh
This applies the same executable permission to the packaging script so it can be run just like any other local command.
Step 9: Create the topology file
Create topology.yaml:
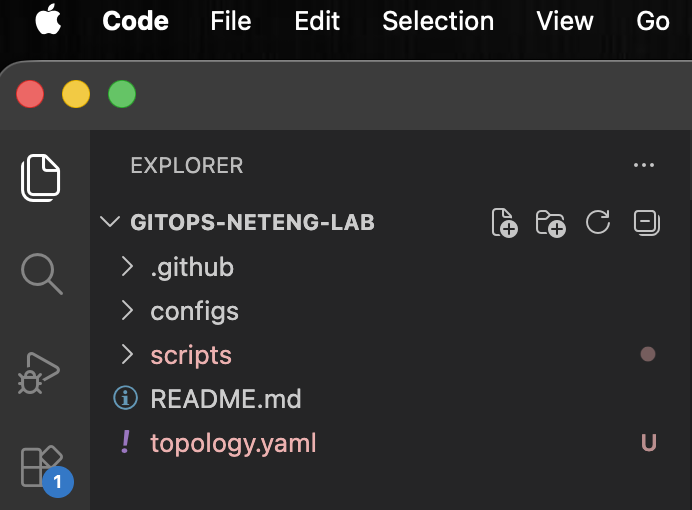
touch topology.yaml
PowerShell:
wsl touchtopology.yaml
This creates the file that will describe the intended lab topology. In this lab, deployment targets an existing CML lab, so this file serves as a reference for the design rather than the object being pushed directly during deployment.
Step 10: Add the topology content
Add the following content to topology.yaml:
lab:
  title: 3-Router BGP Lab
  description: Local GitOps deployment lab
  version: 0.2.2

nodes:
  - id: n1
    label: R1
    node_definition: iosv
    x: 0
    y: 0
    configuration: ""
    image_definition: null
    interfaces:
      - id: i0
        label: GigabitEthernet0/0
        type: physical
        slot: 0
      - id: i1
        label: GigabitEthernet0/1
        type: physical
        slot: 1

  - id: n2
    label: R2
    node_definition: iosv
    x: 200
    y: 0
    configuration: ""
    image_definition: null
    interfaces:
      - id: i0
        label: GigabitEthernet0/0
        type: physical
        slot: 0
      - id: i1
        label: GigabitEthernet0/1
        type: physical
        slot: 1

  - id: n3
    label: R3
    node_definition: iosv
    x: 100
    y: 150
    configuration: ""
    image_definition: null
    interfaces:
      - id: i0
        label: GigabitEthernet0/0
        type: physical
        slot: 0
      - id: i1
        label: GigabitEthernet0/1
        type: physical
        slot: 1

links:
  - id: l1
    n1: n1
    i1: i0
    n2: n2
    i2: i0

  - id: l2
    n1: n2
    i1: i1
    n2: n3
    i2: i0

  - id: l3
    n1: n1
    i1: i1
    n2: n3
    i2: i1
This topology matches the addressing and BGP relationships from the configuration files. It gives learners a clear picture of the intended lab design and provides a reusable topology definition for future work. Later in the lab, the deployment job will target the existing CML lab by updating the node configurations directly through the API.
Step 11: Save the topology file
Save topology.yaml in Visual Studio Code.
Saving the file ensures the topology definition is available for packaging and later deployment reference.
Step 12: Run the validation script
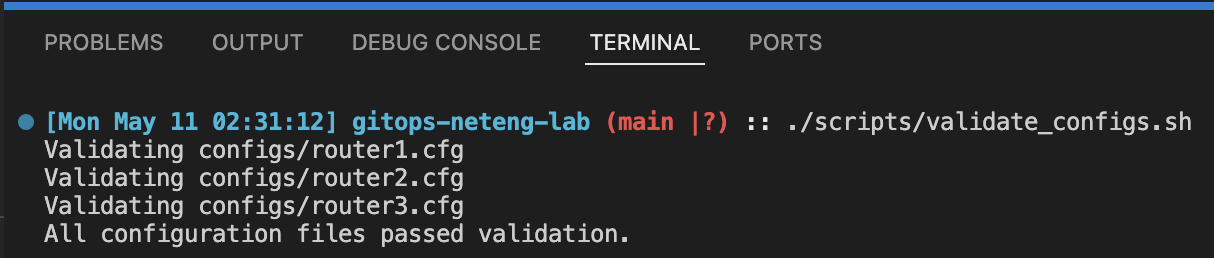
Check the configuration files before packaging them:
./scripts/validate_configs.sh
This script scans each router configuration and stops if a required section is missing. Running validation first helps catch basic issues early, before time is spent on packaging or deployment.
Step 13: Run the packaging script
Create the deployment artifact:
./scripts/package_artifacts.sh
This command creates artifacts/configs.tar.gz, which is the packaged bundle of the repository state you plan to deploy.

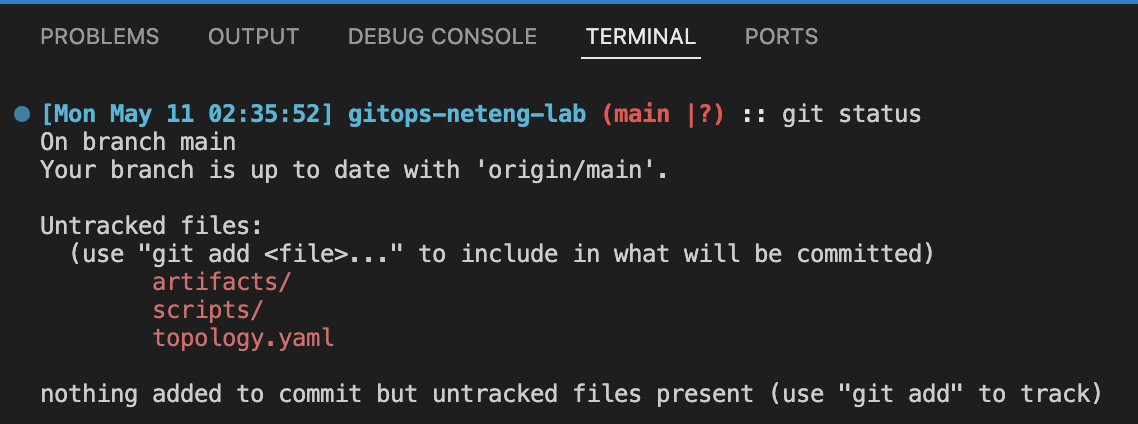
Step 14: Review repository status
Check which files were created or modified:
git status
This status check helps learners see the effect of creating scripts and topology content, and also introduces the idea that generated artifacts may appear as new files in the working tree.
Step 15: Stage the new automation files
Add the validation script, packaging script, and topology file:
git add scripts/validate_configs.sh scripts/package_artifacts.sh topology.yaml
Staging only the source files, rather than every generated file, keeps the repository focused on maintainable inputs instead of temporary output.
To ensure that git can execute the scripts in GitHub Actions, run the following commands:
git update-index --chmod=+x scripts/validate_configs.sh
git update-index --chmod=+x scripts/package_artifacts.sh
Step 16: Commit the validation and packaging workflow
Record the new automation in Git history:
git commit -m "Add local validation and packaging pipeline"
This commit marks the point where the repository becomes more than a collection of configs. It now includes repeatable automation for checking and packaging the desired state.
Step 17: Create the Git ignore file
Create a .gitignore file in the repository root:
touch .gitignore
PowerShell:
wsl touch.gitignore
This file tells Git which local files or directories should stay out of version control.

Step 18: Ignore the artifacts directory
Open .gitignore in Visual Studio Code and add this line:
artifacts/
The artifacts directory contains generated package output. Ignoring it keeps the repository focused on source files and prevents temporary build output from being committed.
Step 19: Save the Git ignore file
Save .gitignore in Visual Studio Code.
Saving the file makes the ignore rule available for the commit in the next step.
Step 20: Commit the Git ignore file
Stage and commit .gitignore:
git add .gitignore
git commit -m "Ignore generated artifacts"
This records the ignore rule before you publish the workflow changes to GitHub.
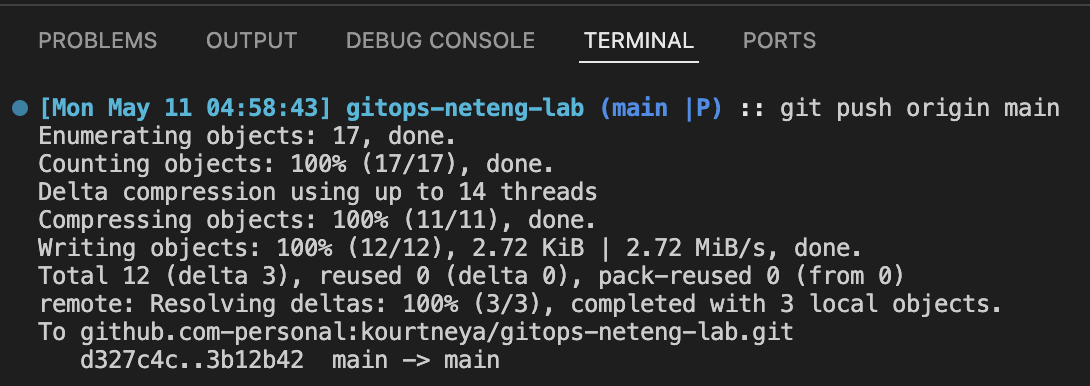
Step 21: Push the validation and packaging workflow to GitHub
Publish the new commit to the remote repository:
git push origin main
This sends the validation script, packaging script, and topology definition to the main branch of the GitHub repository. Pushing the commit makes the new pipeline files available outside your local workstation.
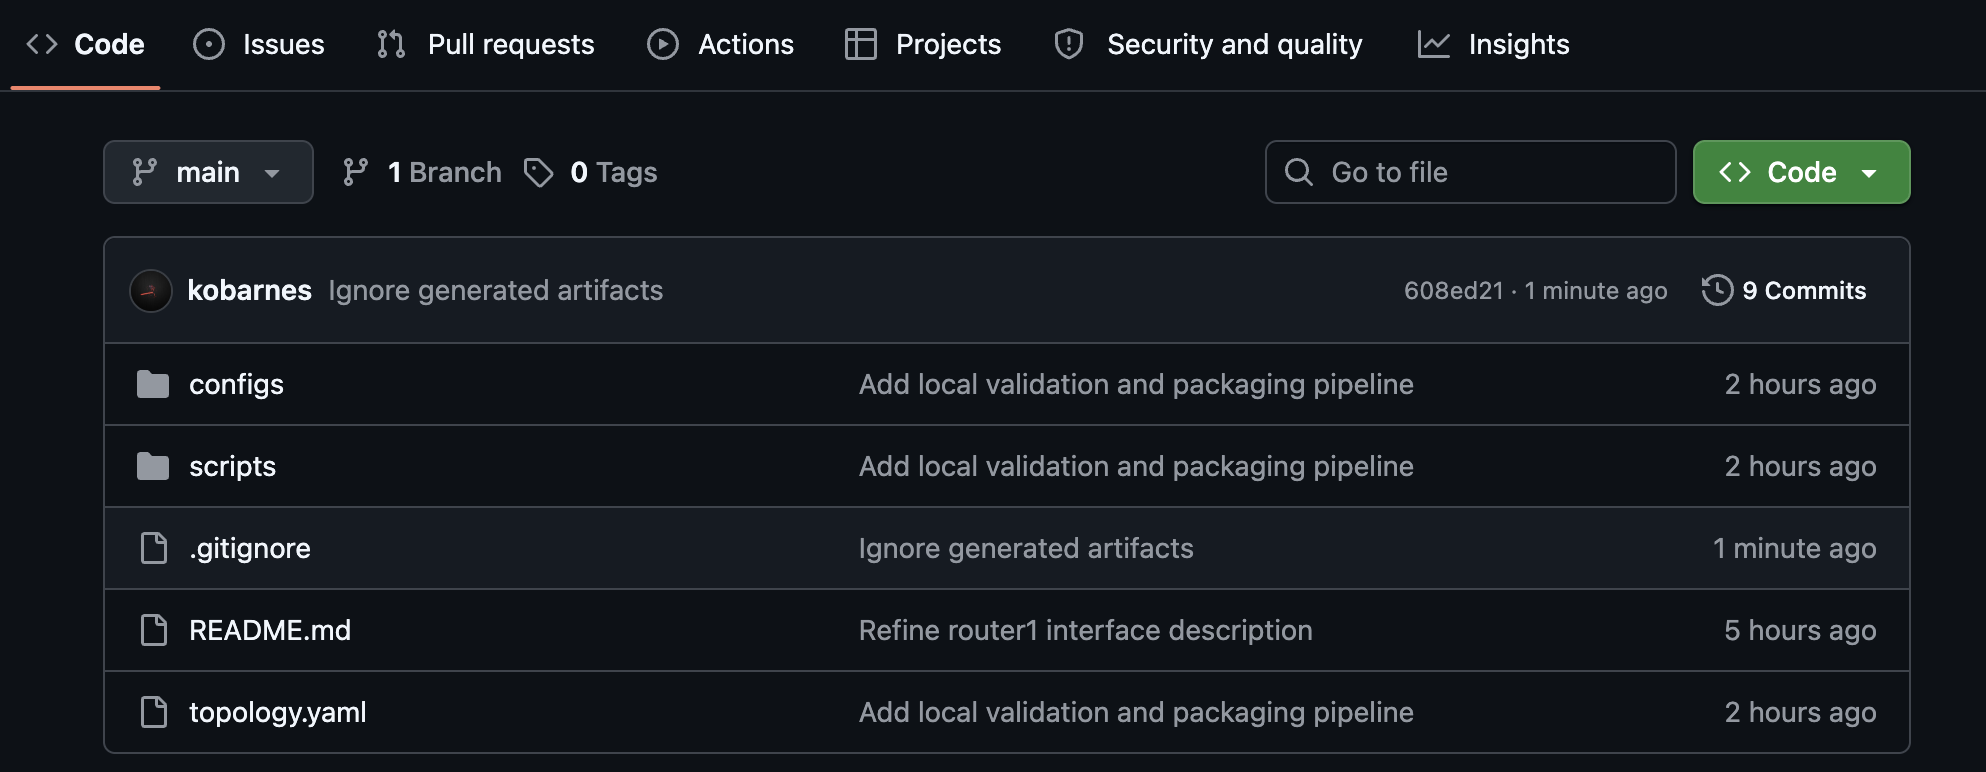
Step 22: Verify the new content in the GitHub repository
Open the GitHub repository in your browser and confirm the new files are visible in the main branch:
- Open your
gitops-neteng-labrepository on GitHub. - Confirm
topology.yamlappears in the repository root. - Confirm
.gitignoreappears in the repository root and includesartifacts/. - Confirm the
artifactsdirectory does not appear in the repository. - Open the
scriptsdirectory and confirm thatvalidate_configs.shandpackage_artifacts.share present. - Open each file and confirm the content matches what you added in this task.
This verification step confirms that the local commit was successfully pushed, GitHub contains the validation and packaging workflow files needed for later automation tasks, and generated artifact output stayed out of the repository.
Why This Matters
A Git repository is useful, but GitOps requires more than storage. Validation prevents obvious mistakes from progressing, and packaging ensures there is a consistent artifact that represents the intended state.
Final Summary
You created a local validate-and-package pipeline that turns Git-tracked configuration into a reusable artifact. In Task 4, you will add the first hosted workflow that validates the repository and packages the artifact automatically.